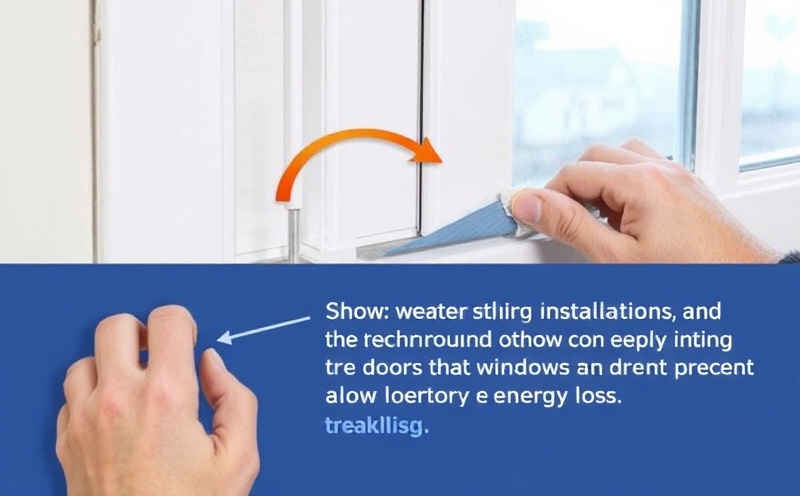
Weather stripping is one of the easiest, most cost-effective home improvements you can make. It prevents drafts, reduces heating and cooling costs, improves comfort, and takes only minutes to install. Here’s everything you need to know.
Why Weather Stripping Matters
- Energy savings: Reduce heating/cooling costs by 10-15%
- Improved comfort: Eliminate drafts and cold spots
- Noise reduction: Reduces outside noise
- Prevents pest entry: Seals gaps where insects enter
- Improves air quality: Reduces outdoor pollutants entering
- Inexpensive: One of cheapest home improvements
Where to Install Weather Stripping
Windows:
- All four sides of each window
- Both upper and lower sashes
- Interior and exterior
Doors:
- Around entire door frame
- Both sides of door
- Top and sides primarily
Other areas:
- Garage doors
- Attic doors
- Crawl space entries
- Any gap where air leaks
Types of Weather Stripping
Foam Tape:
- Self-adhesive, easiest to install
- Cost: $2-5 per roll
- Lifespan: 2-3 years
- Best for: Interior use, small gaps
V-Seal (Tension Seal):
- Spring-metal design
- Lasts 5-10 years
- Cost: $5-10 per roll
- Best for: Gaps that change with temperature
Rubber Gasket:
- Heavy-duty option
- Lasts 10+ years
- Cost: $10-15 per roll
- Best for: Exterior doors, heavy traffic
Felt Stripping:
- Budget option
- Lasts 1-2 years
- Cost: $1-3 per roll
- Best for: Interior, low-wear areas
Door Sweeps:
- Rigid strip attached to bottom of door
- Cost: $10-25 each
- Lasts 5+ years
- Best for: Door bottoms
Weatherstripping Rope:
- Flexible cord-like material
- Cost: $3-8 per roll
- Temporary solution
- Easy removal without damage
Tools and Materials Needed
- Weather stripping material
- Measuring tape
- Scissors or utility knife
- Rubbing alcohol (for adhesive surfaces)
- Dry cloth
- Optional: caulk for gaps larger than 1/4”
How to Measure
- Measure door: Width (multiply by 2 for both sides), height (double for top and bottom)
- Measure windows: Measure all sides needing stripping
- Add 10%: For overlap and mistakes
- Account for depth: Some gaps are deeper than others
Installation by Type
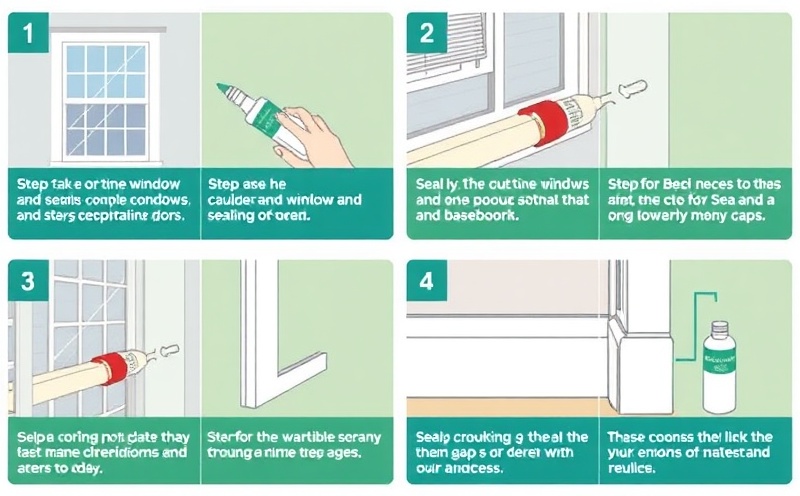
Foam Tape Installation
Step 1: Prepare Surface
- Clean thoroughly with damp cloth
- Remove dust and dirt
- Use rubbing alcohol for greasy surfaces
- Let dry completely
Step 2: Apply Tape
- Remove backing from self-adhesive
- Starting at one corner, press firmly
- Work along entire perimeter
- Ensure good contact for adhesion
Step 3: Seal Corners
- Overlap tape at corners
- Cut excess cleanly
- Press firmly for 24 hours
V-Seal Installation
Step 1: Position
- Determine which side has built-in nails/fasteners
- This side faces the direction air comes from
Step 2: Nail Installation
- Nail along pre-drilled holes
- Use small nails (usually included)
- Don’t nail too tightly; allow slight movement
- Nails every 2-3 inches
Step 3: Test Function
- Open and close window/door
- Should create slight resistance
- Too tight means seal is working
- Adjust as needed
Door Sweep Installation
Step 1: Measure
- Measure door width
- Ensure sweep is proper length
Step 2: Position
- Most sweeps mount on bottom of door
- Some mount inside, some outside
- Follow manufacturer instructions
Step 3: Install
- Mark screw holes
- Drill if needed (use appropriate bit size)
- Screw into place
- Test for proper seal
Step-by-Step Foam Tape Installation (Most Common)
For Doors:
- Clean door frame thoroughly
- Measure all four sides
- Mark starting point (usually top left)
- Peel backing and apply to top
- Press firmly as you apply
- Apply to both sides
- Apply to bottom
- Seal corners with overlap or caulk
- Test door operation
- Let adhesive cure 24 hours
For Windows:
- Clean frame completely
- Measure all four sides
- Determine which sash to seal
- Apply to all sides of sash
- Ensure moving parts have clearance
- Test operation (should have slight drag)
- Allow 24 hours cure time
Pro Tips for Success
- Temperature: Install in 50-85°F weather
- Cleanliness: Dirty surfaces won’t hold tape
- Firm pressure: Press for 10-15 seconds per section
- Don’t stretch: Apply tape at normal tension
- Even application: Avoid wrinkles and bunching
- Clearance: Ensure doors/windows still operate smoothly
Common Installation Mistakes
- Applying to dirty surfaces (poor adhesion)
- Stretching tape too tightly
- Not cleaning properly before application
- Using wrong type for application
- Overlapping too much at corners
- Installing upside down or backward (if directional)
Maintenance and Replacement
When to replace:
- Visible damage or wear
- No longer blocking drafts
- Adhesive losing grip
- Seasonal (spring or fall is ideal)
Annual inspection:
- Check for gaps
- Look for damage
- Test seal by holding hand near edge
- Replace as needed
Cost Analysis
- Weather stripping: $10-50 per door/window
- Professional installation: $200-500 for whole house
- Energy savings: 10-15% reduction in heating/cooling
- Average payback: 1-2 months during heating/cooling season
Energy Impact
For a typical home:
- Windows account for 25-30% of heating loss
- Doors account for 10-15% of heating loss
- Weather stripping can seal 50-80% of these gaps
- Potential savings: $100-300 annually
DIY vs. Professional Installation
DIY is great for:
- Foam tape on windows and doors
- Interior applications
- Simple door sweeps
- Ropes (temporary)
Professional installation for:
- Multiple floors
- Complex gaps
- Hard-to-reach areas
- V-seal and gasket weatherstripping
Combining with Other Weatherproofing
For best results, combine weather stripping with:
- Caulking gaps
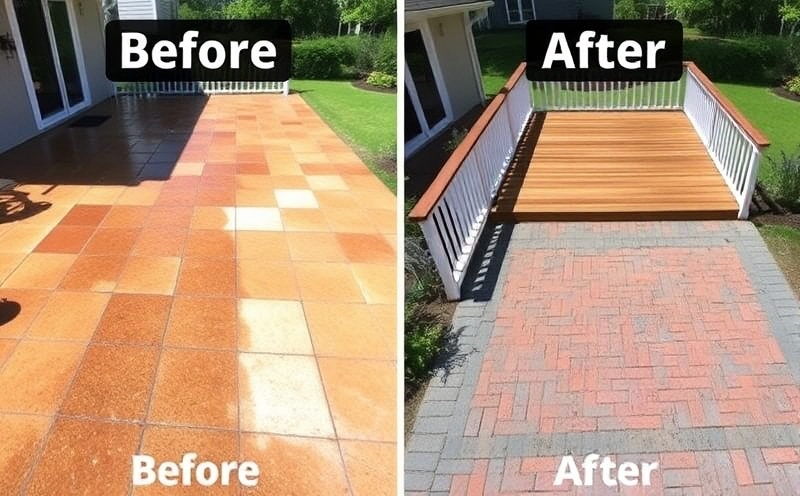
- Door sweeps
- Weatherproofing paint
- Insulation upgrades
Ready to improve your home’s energy efficiency? Grandmas Boys Handy Man Service handles weather stripping, caulking, and weatherproofing. Call today!